installation
Download the Package
After purchasing slant theme please navigate to your downloads tab on Themeforest and find Slant Theme. Click the download button next to Slant theme and choose All Files and document choice, save the package on your computer.
Please unzip the downloaded ZIP File . Inside the extracted folder, you will find Folders like Documentaion , Licencse and Upload. Inside upload you can find your main Theme Folder (Slant) and the child Theme folder (Slant Child)

Upload and install The Theme
When you are ready to install a theme (After unpacked the package), you must first upload the theme main folder (slant) to your server, then you can activate the theme . The theme files can be uploaded in two different ways:
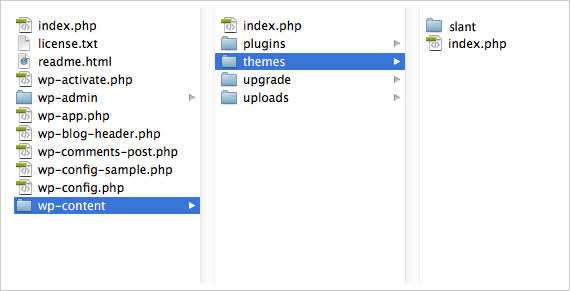
1- FTP Upload:
Using your FTP program, upload the non-zipped slant theme folder into the /wp-content/themes/ on your server.
2- WordPress Theme Manager:
Navigate to Appearance > Add New Themes > Upload. Go to browse, and select the zipped theme folder. Hit (Install Now) and the theme will be uploaded and installed.
Once the theme is uploaded, you just need to activate . Go to WP Menu -> Appearance > Themes and activate Slant theme.

Activate Plugins
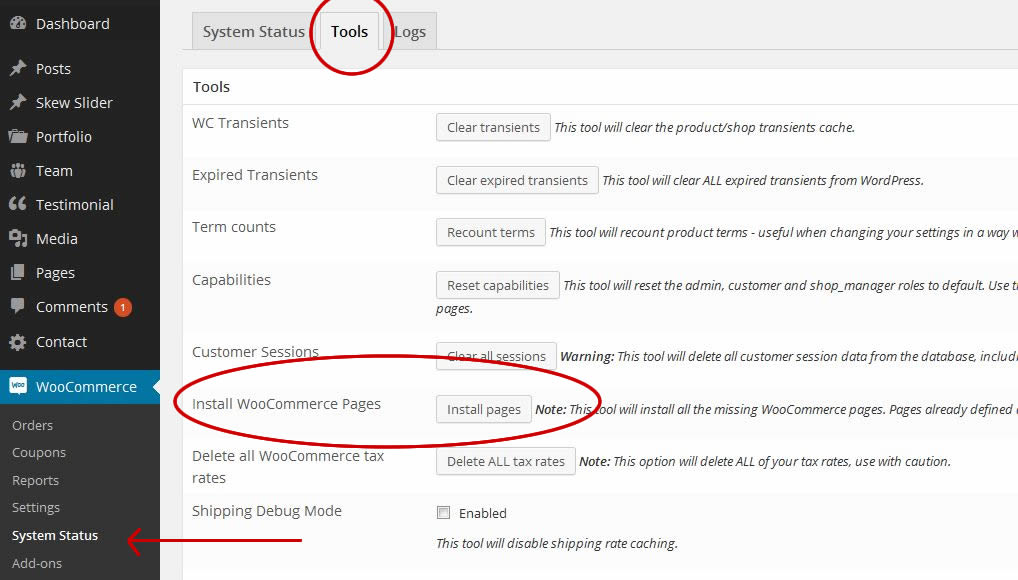
1. Woocommerce:
it's highly recommended to activate Woocommerce Plugin before import Slant Demo data (the next step), activating woocommerce allow Slant import demo data correctly for woocommerce products and pages .
2. Contact Form 7 :
To use the contact form within your home page contact section you should activate the Contact form 7 Plugin .
3. Revolution Slider :
To use Revolution Slider within your pages you should activate it .

Using Revolution Slider
If you choose one of our Slant Demos that includes Revolution Slider (ex: Revolution , Landing Versions) We Highly Recomment to Acivate and Import our Example Slider before going to the next Step and import Demo Data, This will Just take a few seconds .
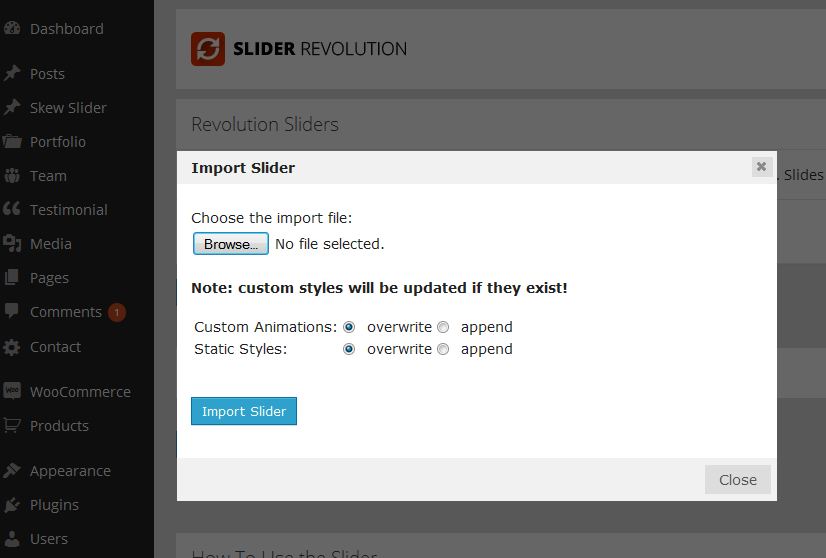
After Install and Acivate Revolution Slider Please visit WP Menu > Revolution Slider Tab and Choose to import Slider
We have included our Demo slider within your package .. Please find a folder Name Revolution Slider Examples Then import the .ZIP File
Demo Content Import
To Get Exactly the same content you see at Slant Demo you have two different ways:
1-One Click Demo Installation
We add the possibility to install your favirot demo version easily by just one click installation setup, All you need to do is just go to WP Menu -> Appearance > Demo Importer section and choose the version exactly you want to install.
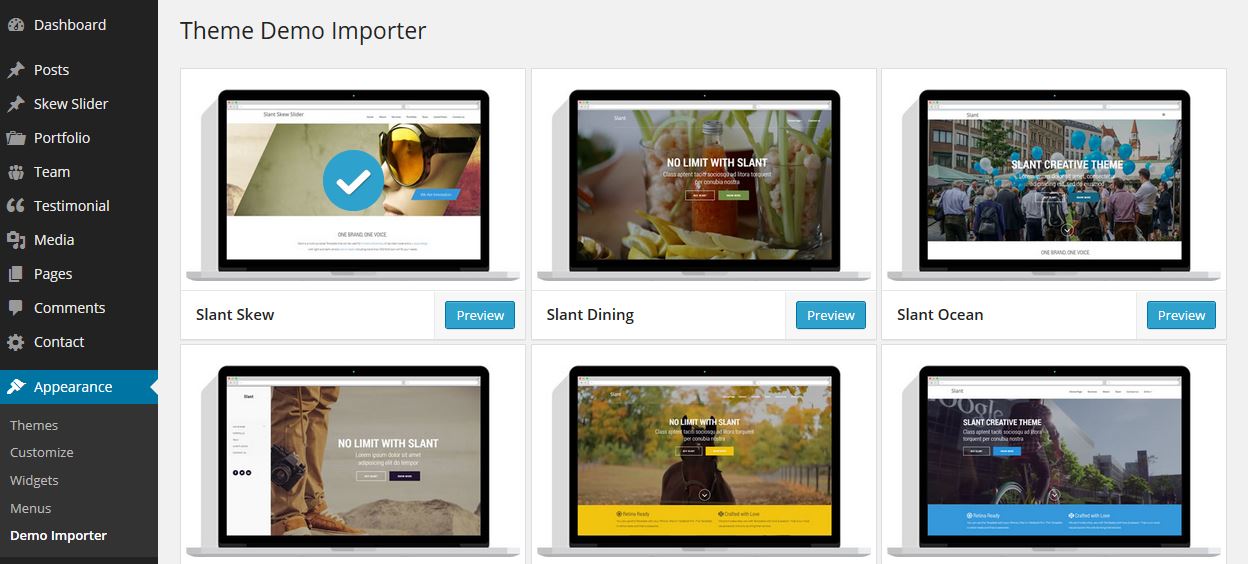
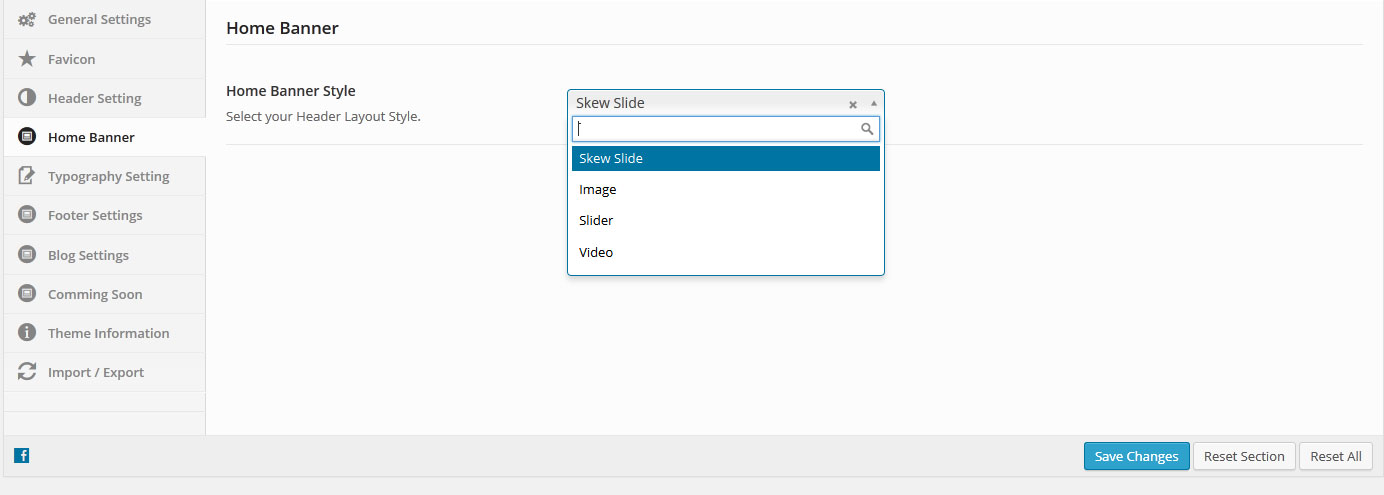
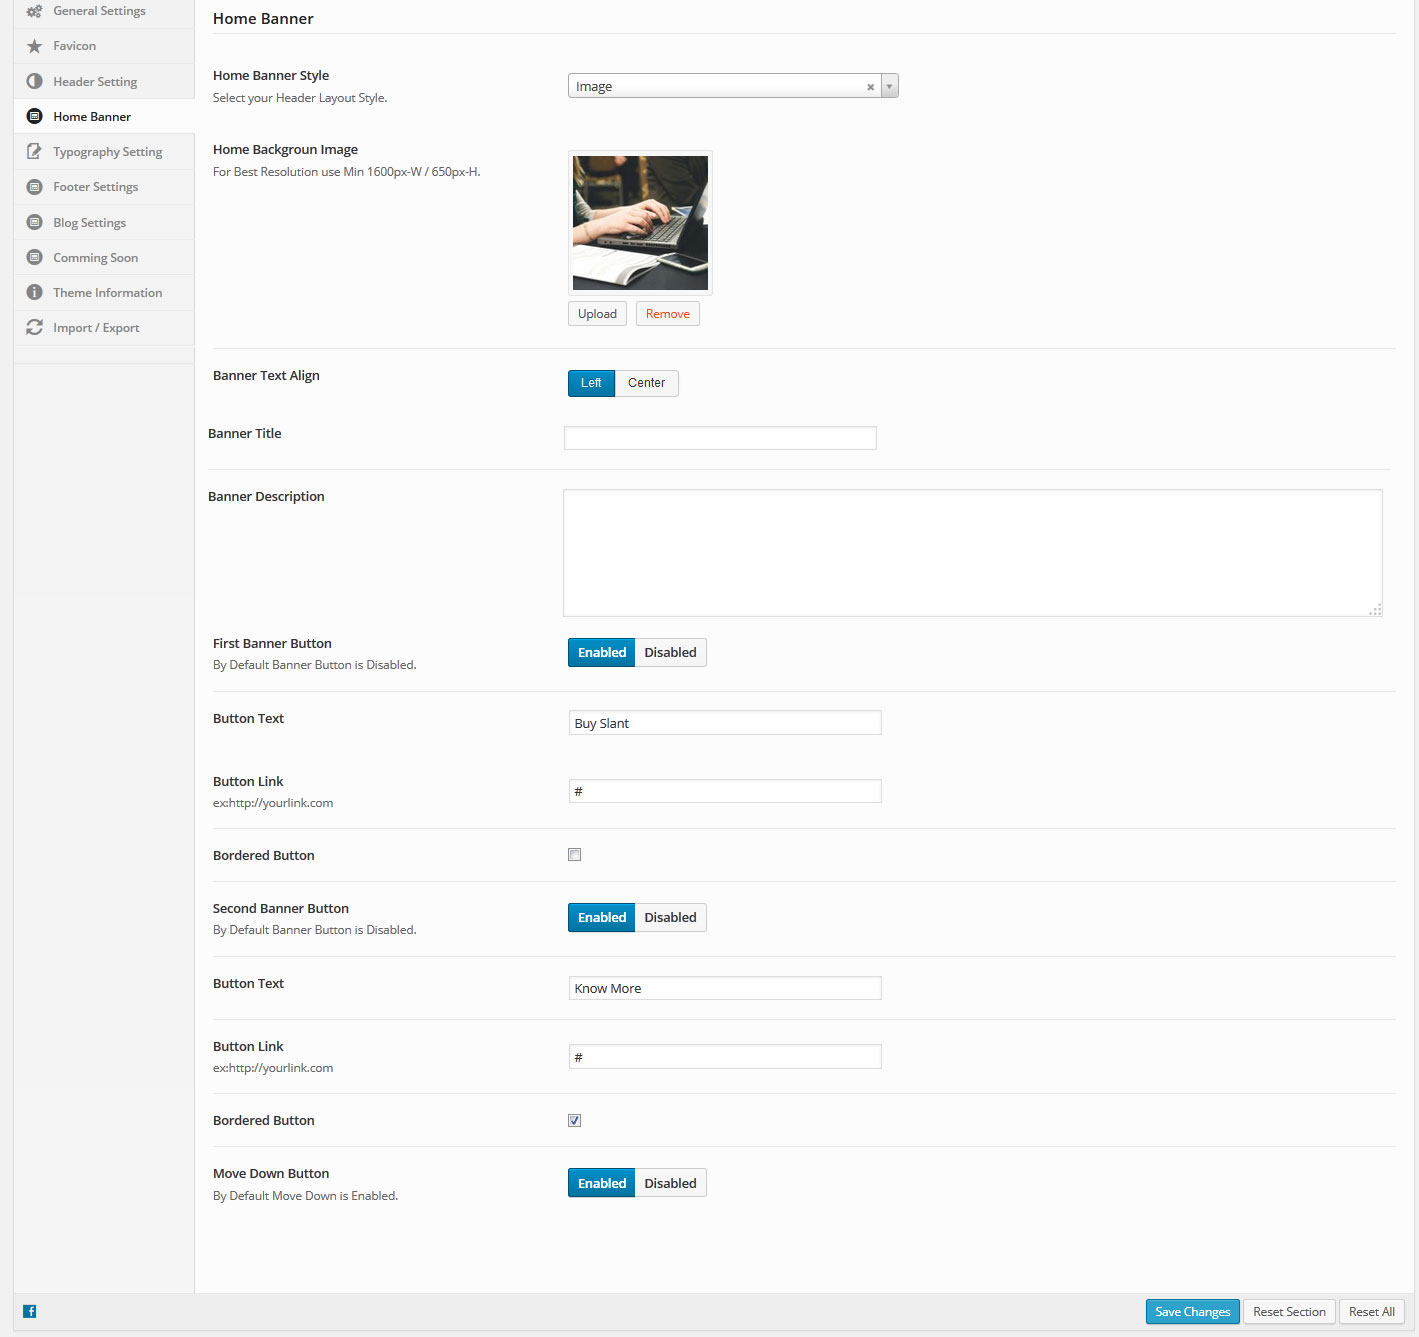
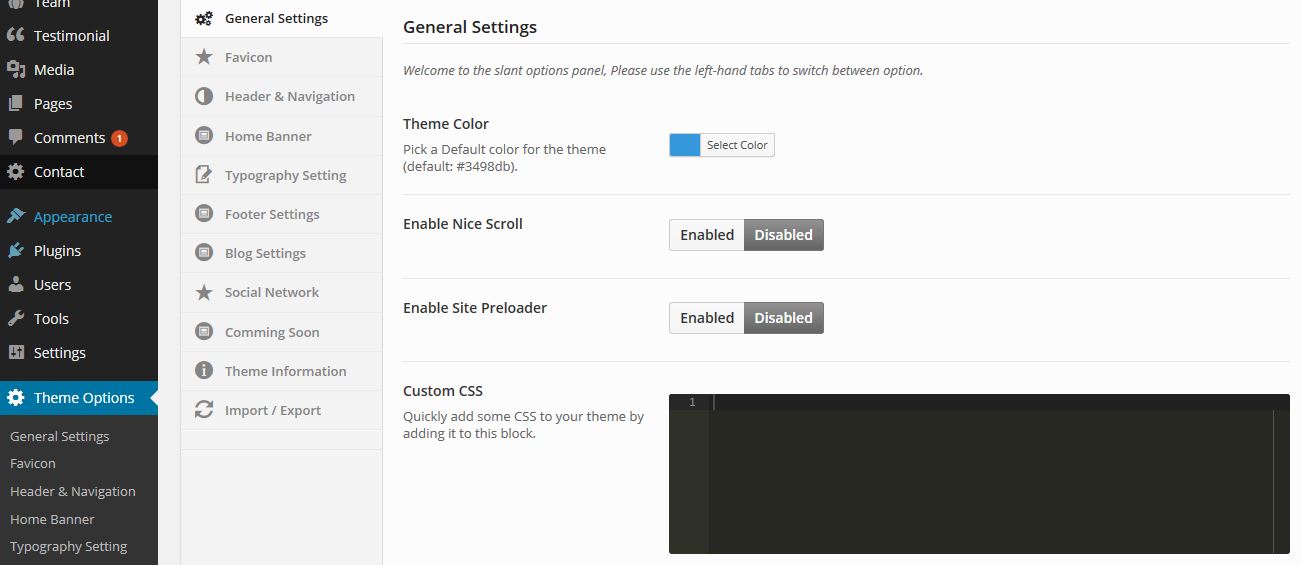
You can also select if you want to install Theme Options or not Theme Option includes the Main Layout Options as Theme Color , Home Banner Slider , Blog Layout and etc.

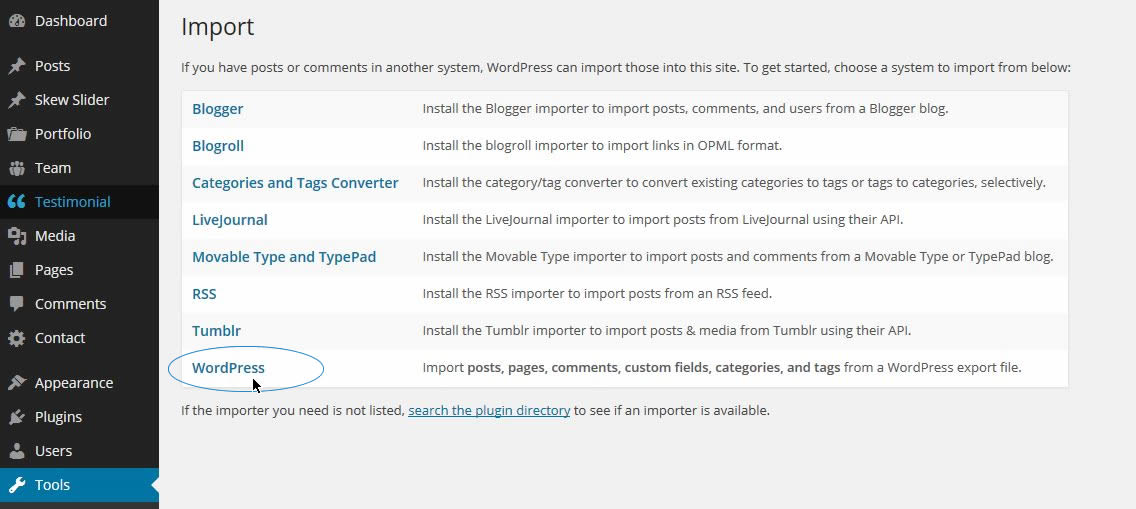
The other option is to install demo data manually you can do that by Navigate to WP Menu -> Tools -> Import. and click on WordPress, Choose browse and select the demo xml file provided inside the Theme -> Framework folder -> Assets -> XML -> Unzip choose the demo version and click on Upload File You can select Download and Import File attachments if you want to get and install demo images Finally click Import, The importing will take a few seconds depending on your internet connection Then you should see the success message Import Content Done , Have Fun Now, the demo content installed and you are ready for the next step.
Important Notes Regarding to Demo Content
Premium Images at our online demo are not included because those are license stock photos and not allowed to distribute. Instead we include other free images
Configure Settings
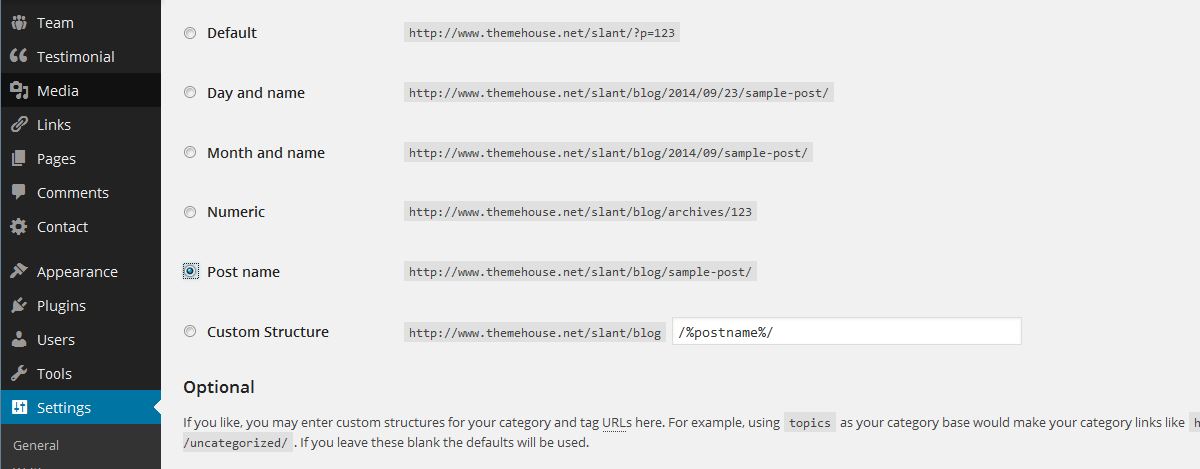
1. Setting up Permalinks:
Navigate to Settings > Permalinks. Under Common Settings select post name. Now click on Save Changes.
If you choosed one click demo installation you don't have to complete this section if not you should configure the following :
2. Setting up Front Page:
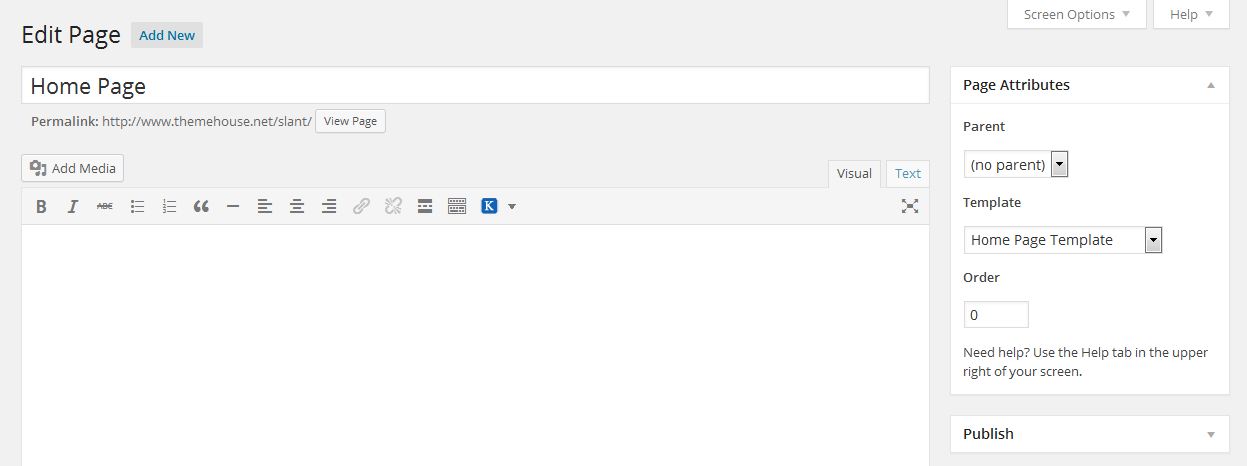
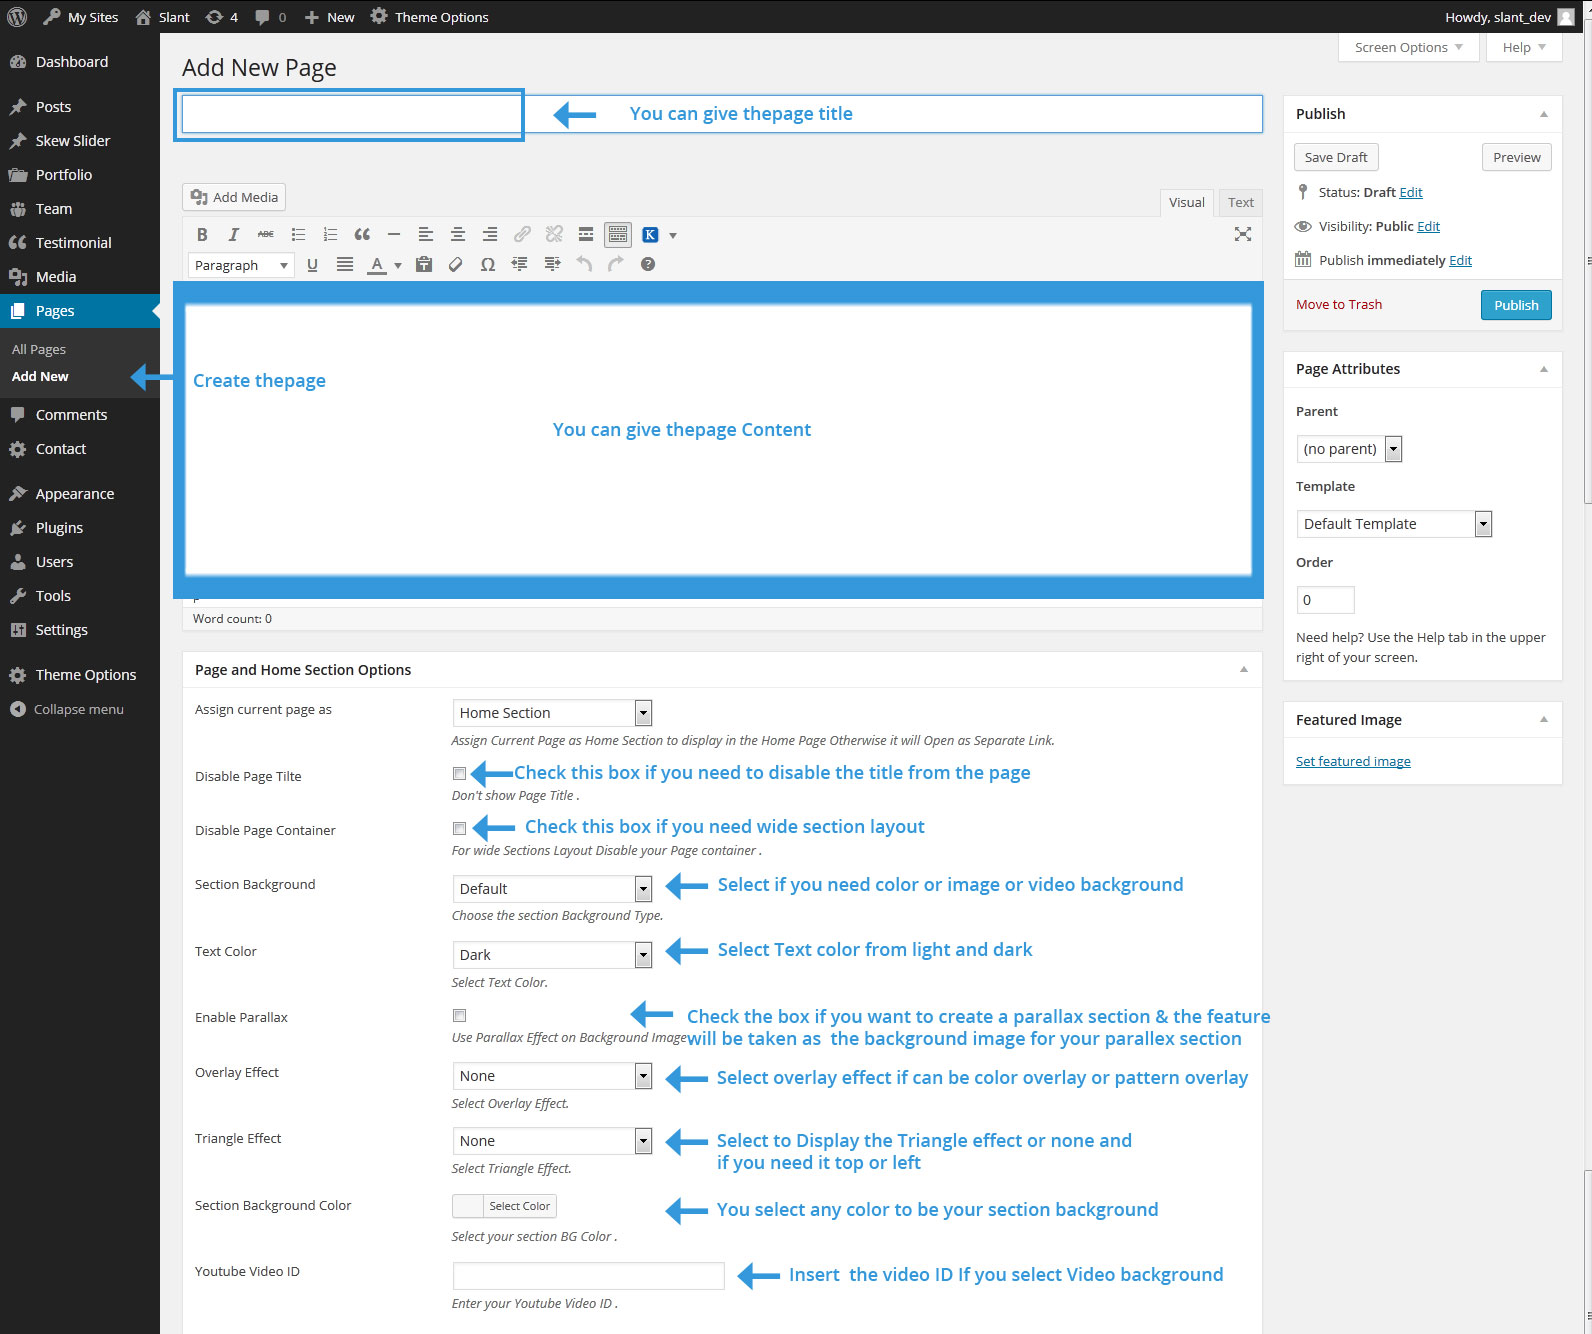
To set up the Frontpage, you must have page (ex. Home Page) in case you didn't import demo data please create a new one , you can do that by navigating to WP Menu > Pages > Add New.
Under the page attributes section, Select "Page template as Home page Template" and Click Publish.
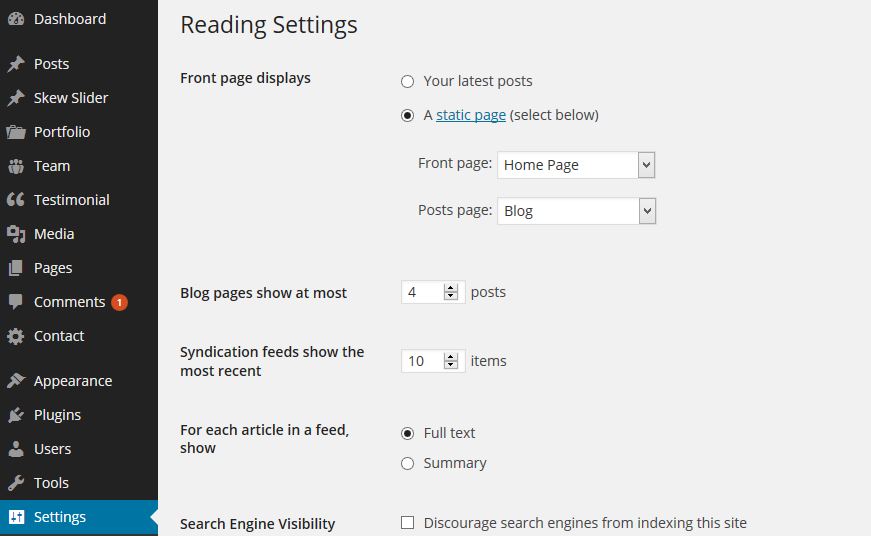
Now browse to Settings Reading and change the setting for Front page displays from Your latest posts into A static page.
As you can imagine assign your previously created "Home Page" as the Front Page.
3. Setting up Blog:
To set up the blog, you must have page called (ex.Blog), in case you didn't import demo data please create a new one , you can do that by navigating to WP Menu > Pages > Add New. You can give this page a title of blog
for now you do not have to include any content.
Click Publish. Once you have created your new page, Goto Settings->Reading. Select A static page and assign the blog for Posts Page.
Note: If you previously Import Demo Data using our Theme Demo Importer you don't have to do the above configuration for Home Page and Blog setting
If not you should apply the settings above, to get your frontpage displayed.